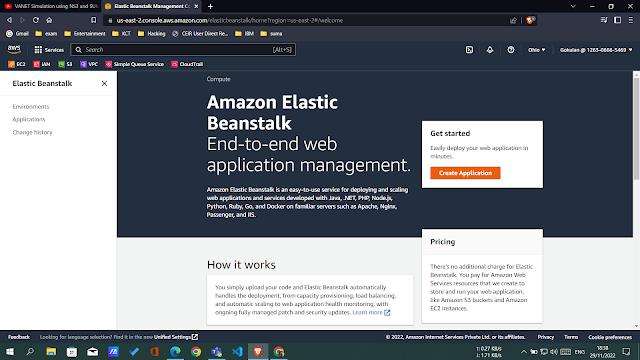
Elastic Beanstalk
Elastic Beanstalk :
Elastic Beanstalk is a platform within AWS that is used for deploying and scaling web applications. In simple terms this platform as a service (PaaS) takes your application code and deploys it while provisioning the supporting architecture and compute resources required for your code to run. Elastic Beanstalk also fully manages the patching and security updates for those provisioned resources.
There are many PaaS solutions in the cloud computing space including Redhat Open Shift, Google App Engine, Scalingo, Python Anywhere, Azure App Service, however AWS Elastic Beanstalk remains one of the leading PaaS choices among app developers.
There is no charge to use Elastic Beanstalk to deploy your applications, you are only charged for the resources that are created to support your application.
AWS Elastic Beanstalk allows you to quickly deploy applications and services without having to worry about configuring underlying resources, services, operating systems or web servers.
Elastic Beanstalk takes care of the hosting infrastructure, coding language interpreter, operating system, security, https service and application layer. All you need to worry about is writing your code.
You can develop code in a number of languages which is then zipped up and the zip file is used when instantiating a new elastic beanstalk instance.
Supported language platforms include:
- Ruby
- Python
- PHP
- Go
- Node.js
- Java
- .NET on Windows Server IIS
- .NET Core on Linux
- Packer Builder
- Glassfish
- Docker
- Tomcat
The web servers provisioned will be familiar to most web developers and include Apache, Tomcat, Nginx and IIS
Procedure:
Step 1: is to create a new web app and give it a unique name.
Step2: Now you need to select a platform for the build.
Step 3: Select a platform, a platform branch (o/s) and a platform version
Step 4: At this point you can select a sample application which we’ll do in this example. It's at this stage you can upload your own code.If you are uploading your own code, it will need to be a ZIP or WAR file either located on your local computer or stored in a public S3 bucket. At this point you will need to allocate a version label to your code which needs to be unique.
Step 5: Elastic Beanstalk will start to create all the required resources and display a status screen with the log of the supporting resources being created.
Step 6:You can now open the URL displayed above the health check to open the application.
.png)
.png)
.png)
.png)
.png)
.png)
.png)
.png)
Comments
Post a Comment